
Splashify Pro Documentation
Step-by-step guides, with pictures, for every screen in the Splashify Pro app. Start at the top and follow the chapters in order, or jump straight to the feature you need.
Splashify Pro is where your business talks to customers on WhatsApp. You connect your WhatsApp number, keep your contacts in one place, chat with customers from a shared inbox, send offers to many people at once, and let chatbots answer the common questions for you. SMS, Instagram, email, calling and ads work from the same app.
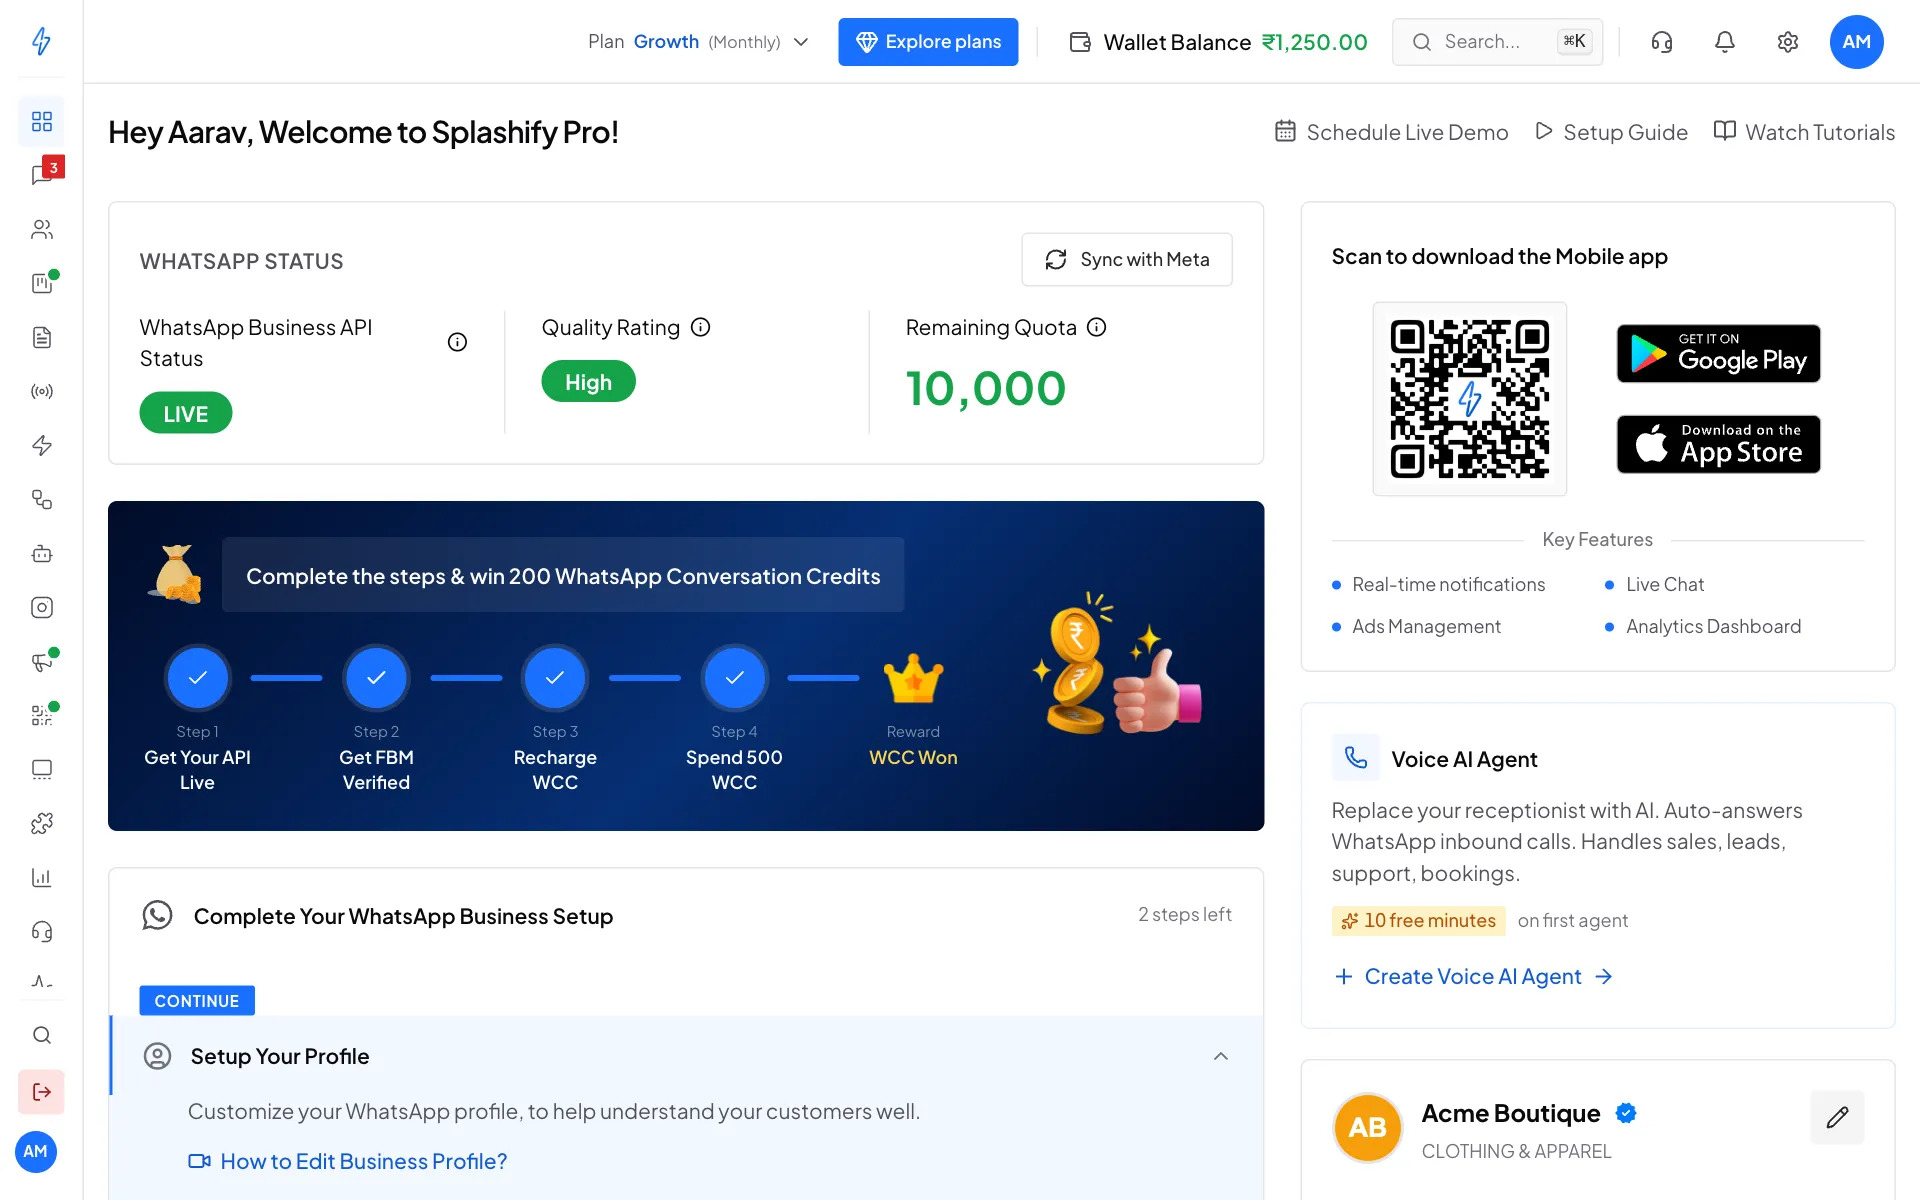
Your first message, step by step
Create your account
Sign up with your email and mobile number. See Sign up.
Pick a plan and add money to your wallet
Your plan unlocks the features. Your wallet pays for each message. See Buy or change a plan and Wallet and billing details.
Connect your WhatsApp number
Link your WhatsApp Business account in a few clicks from the dashboard. See Connect WhatsApp (WABA).
Add your contacts
Add them one by one or import a CSV file, then group them with tags. See Import contacts and Tags.
Create a template
WhatsApp needs an approved template to start a conversation. Most are approved within 24 hours. See Create a WhatsApp template.
Send it
Send to one customer from the inbox, or to many at once with a broadcast. See Send messages and Create a broadcast.
Find your way
Connect WhatsApp
Link your number, verify your business and get the blue tick.
Plans and billing
Buy a plan, add money, fill in GST details and download invoices.
Contacts
Add, import, tag and group the people you message.
Templates
Create the approved messages WhatsApp needs for offers and updates.
Inbox
Chat with customers as a team, with quick replies and notes.
Broadcasts
Send one message to thousands of contacts and track results.
Chatbots and AI agents
Answer common questions automatically, day and night.
WhatsApp Flows (forms)
Collect bookings, orders and leads with forms inside WhatsApp.
Ads and CTWA
Run click-to-WhatsApp ads and see which ones bring chats.
Reply to DMs and comments from the same inbox.
SMS
Send DLT-registered SMS to Indian numbers.
Email marketing
Send email campaigns from your own domain.
WhatsApp calling
Make and take WhatsApp voice calls with recordings.
Voice AI agents
Let an AI agent answer your WhatsApp calls.
Reports
See messages, delivery, costs and campaign results.
For developers and partners
- Developers: the API, webhooks, SDKs, the CLI and the Claude Code plugin.
- Reseller panel: sell Splashify Pro under your own brand.
Open the app
Sign in at app.splashifypro.com.
Need help?
- Email [email protected].
- Or raise a ticket from Support in the app. See Support tickets.